

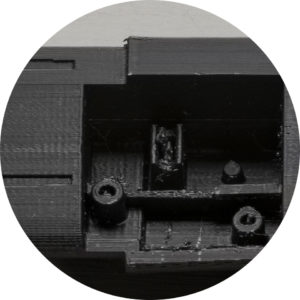
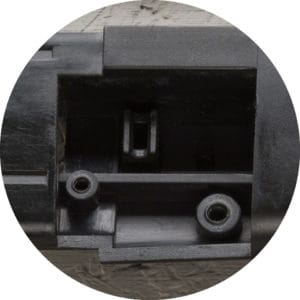
FDM
This is the most basic form of 3D printing available, yet what can be achieved can be pretty mind bending. Companies such as Prusa and Creality
have pushed the boundaries on what is possible, both with advancements in hardware, but the biggest gains have been in software and some very clever in-fill and support material technologies that continues to be updated.
Typical Part Cost: from £6.99
Pros
– Rapid, you can print in the morning and have a working part after lunch
– Durable (when detail or wall thickness not too small)
– Different colours and finishes available
– PLA is a good engineering material that is stable and can be used for many applications
– Low cost (unless a lot of clean up is required)
Cons
– Texture can look quite rough on curved parts
– Small details generally do not come out well
– When support material is used you generally get a rougher finish
– Not brilliant for waterproof parts unless sealed
——————————————————————
 SLS / MJF
Generally we use FDM prototypes for in-house development work because the finish is not a high enough quality to show front-end clients or to use for marketing materials. For most projects once we are happy with the design internally we turn to 3DPRINTUK who produce our SLS and MJF nylon prototypes. These can be received 2-3 days from ordering and require almost no sanding or post processing, and when presented to a client they often don’t realise they have been 3dprinted, they really look like a production part.
Typical Part Cost: from £27.99
Pros
– Surface finish is very smooth
– Black and white parts can be printed within 2-5 working days
– Parts can be flexible when printed with thin walls and very stiff and incredible strong with thicker walls
– Economy 7-12 working day option available, which can be useful on larger parts to keep the cost down
Cons
– Sometimes we don’t have 2-3 days to wait!
– Parts can get costly once they get beyond a certain size
– A limited range of colours available
– Very small details do not always come out well
– Powder can sometimes clog up small holes / geometry
– Warping on large flat areas can be a problem
——————————————————————
 SLA
SLA
We tend to use SLA the least here at LUMA. Generally because parts can be quite brittle, and we are often making very functional prototypes. However if a part requires transparency, such as a lens for a light, there really isn’t anything that matches the quality of SLA and it can be a great way to test optical elements of a design.
Typical Part Cost: from £29.99
Pros
– Incredible detail is possible
– A great choice for making the masters for silicone moulds
– A wide range of colours and materials available
Cons
– Parts tend to be brittle
– Support materials can require a lot of time to clean-up
– More expensive than other processes
——————————————————————
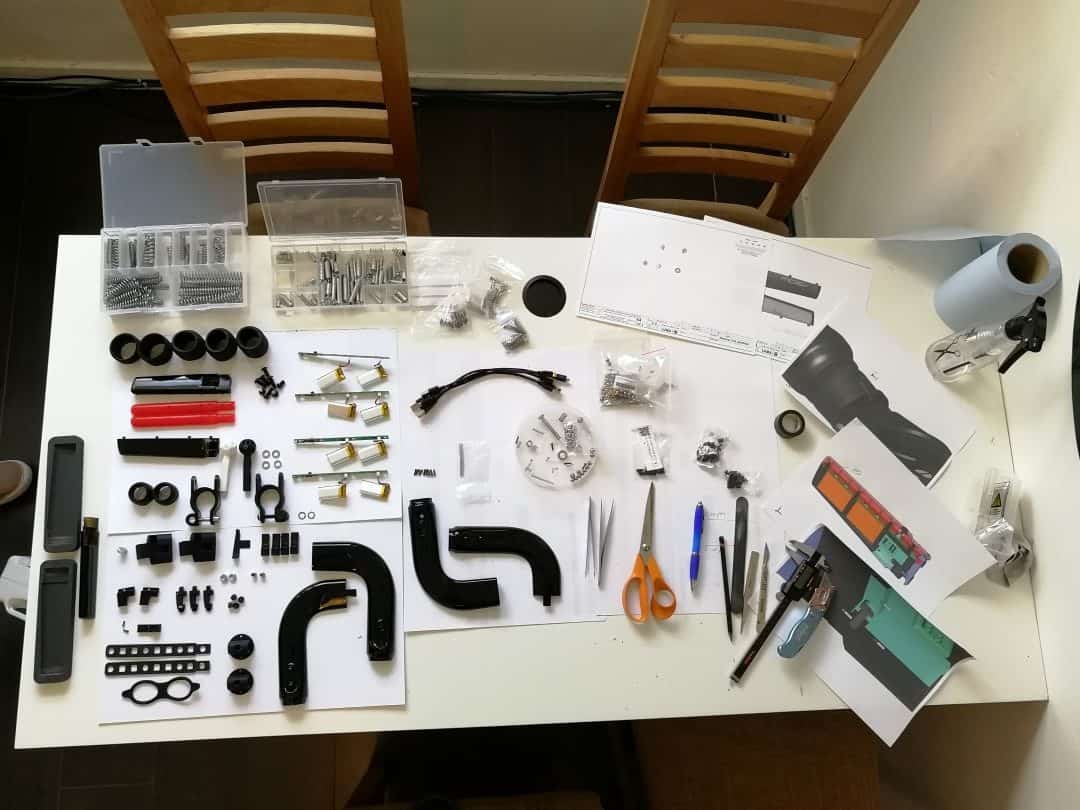
 Painted / Pre-production Sample
For most applications the “raw” finish of a 3DPrinted part is acceptable. However there are times where the lightly textured finish, or slight stepping in the print is not an accurate representation of the final part. There is no 3dprinter available that will produce a gloss shiny finish for example, that can only be achieved with several rounds of painting and sanding. This is a very labour-intensive process and is why it’s usually saved for the end of the project life-cycle, usually for applications such as recording a Kickstarter video, or showing a potential investor.
Typical Part Cost: from £249.99
Pros
– The pre-production look and feel can be used to take pre-orders for a product before tooling starts (for example for a Kickstarter campaign)
– Details such as product logos and colours can be explored
– It looks like a “real” product
Cons
– High cost and a long lead-time to create the parts
– Can scratch/blemish easily – outer finish not as durable as a moulded part
——————————————————————
 Injection Moulded Part
Usually after a successful Kickstarter campaign or a final sign off from the prototyping stage the process of making a mould begins. This is usually the biggest single investment in the project as the tooling is made from steel or aluminium which takes several months to produce. The injection moulded tool allows very high precision parts to be made very quickly and (comparability) low cost to 3dprinting (in general) once orders go beyond 100’s of units. The UK and Europe are increasing with options as the cost of shipping and raw materials has been on the rise, however the far-east still offers the most value with a far greater number of suppliers and a larger supply chain.
Typical Part Cost: from £0.50 (tooling starting from £4,000)
Pros
– Part detail and finish
– Part consistency
– Low unit cost
– Durability
Cons
– High tooling investment
– Recent increase in shipping and raw material prices
– Only small tooling changes are possible once the mould has been made
– Not suitable for low volume
——————————————————————